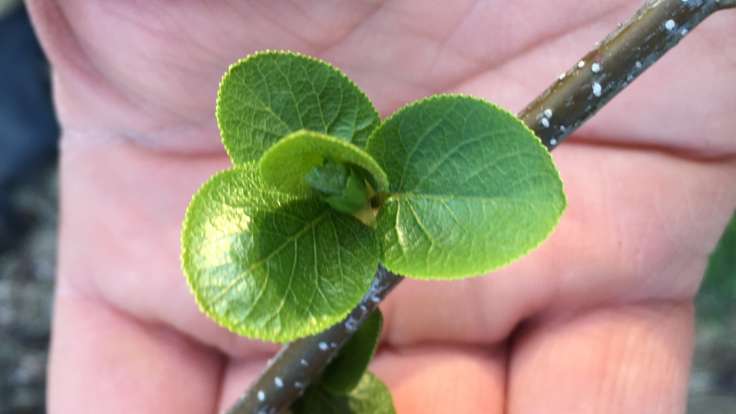
Moments like this freshly unfurled Italian Alder leaf are magical
Eight flavourful steps to tempt you into the exhilirating world of forest gardening. Creating a forest garden isn’t too difficult, it just takes hard work and perseverance. Like any garden.
We started creating a forest garden about 3 years ago. I always recommend people thoroughly read Creating a Forest Garden by Martin Crawford. These are my condensed nugget steps of experience:

1. Survey
Measure the land so you can space your trees. Use a tape measure and trigonometry for a smaller garden, satellite photo & tape for a larger garden. I use the Theodolite app. Also, test your soil for acidity & nutrients; farmers co-ops are cheapest.

2. Plan
Use large grid paper, overlayed with tracing layers. Or use computer software: either screenshot of the map cropped and imported (with the scale) into free drawing program Inkscape or export the map outline into QCAD (more technical). Create scale circles of trees (tree spacing ¼–½ of combined tree diameters), plan structures and paths. Take heed of utilities.
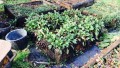
3. Propagate
Set up propagation beds 1m² for range of ground cover plants. Establish half a dozen “mother plants” in each bed. My faves are Chilean Strawberry, Alefoot, Iberian Comfrey, Lesser Periwinkle, Nepalese Raspberry. Beds can be temporary: lay cardboard on mown ground, cover with thick layer soil/compost, dig plants in, mulch with wood chip.

4. Windbreaks
Windbreaks mean trees establish much quicker. Make sure you take into account final height and widths. My favourite windbreak species are Autumn Olive, Guelder Rose, Juneberry, Dogwood and Sea Buckthorn. You can also set up a mini-windbreak, a “nurse tree”, for exposed canopy trees—I’m using Broom, as nitrogen-fixing and short-lived.

5. Canopy
Mark out the position and (final) diameter of your canopy trees with the ‘Bamboo String Radius Device’®, to make sure that tree spacing is ¼–½ of combined tree diameters. Ensure you have pollinating partners if required and that your tree has enough shelter. Take heed of utilities.

6. Sheet mulch
It takes 6-12 months to kill the grass. If using woven plastic sheet mulch, buy decent brand like Phormisol and re-use across the site. Use metal pegs to secure, then weigh down sheet with heavy objects.

7. Shrubs
Mark out the position and (final) diameter of your shrubs with the ‘Bamboo String Radius Device’®, although shrubs easier to move than canopy trees!

8. Ground cover
I use locally sourced wood chip as a mulch, as it’s free and it doesn’t rob nitrogen(PDF). Then I plant the propagated ground cover plants. Best to plant in autumn.
My four key takeaways?
- Plan
- Propagate
- Windbreaks
- Mulch. Everything.