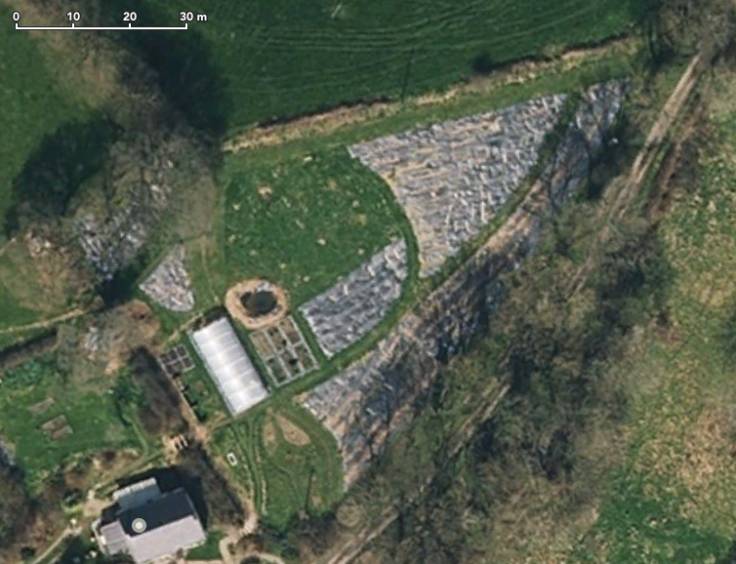
Satellite photo of the Forest Garden Wales forest garden
Using a satellite photo as the basis for your forest garden plan is a good and quick way of creating an approximate plan without having to measure out in the field.
I discovered how to easily scale a satellite photo in QCAD to create a #ForestGarden plan.
- Satellite: Take a screenshot of your satellite map. Apple Maps has the best resolution satellite photos in the UK, although I have been trying to get photos from USGS EarthExplorer. Be sure to include the scale.
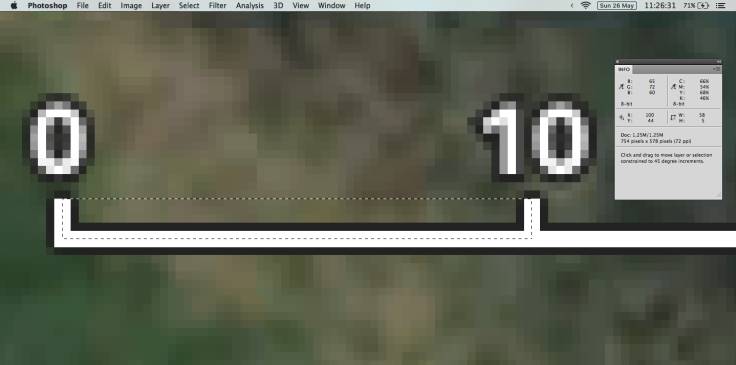
- Scale: Using the rectangular selection tool in Photoshop on the scale, calculate the number pixels per metre. In the example, it’s 5.8.
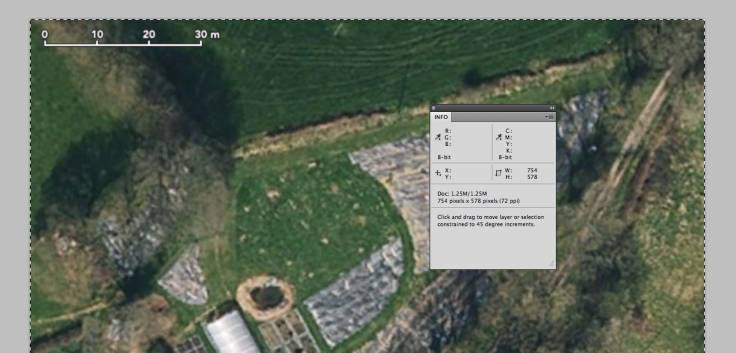
- Width: Then find out the width in pixels of the entire satellite photo. Trim the canvas size to make it a nice round number of metres. In the example, the width is 754 pixels, divided by 5.8 is exactly 130 metres (you can use a modulus calculator to help with this).
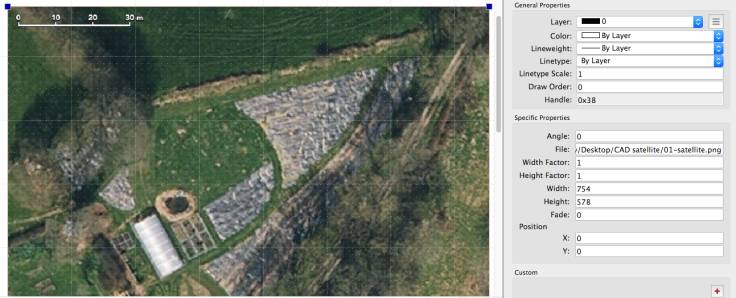
- Import: Create a new QCAD file, put the satellite photo in the same folder, import the photo image.
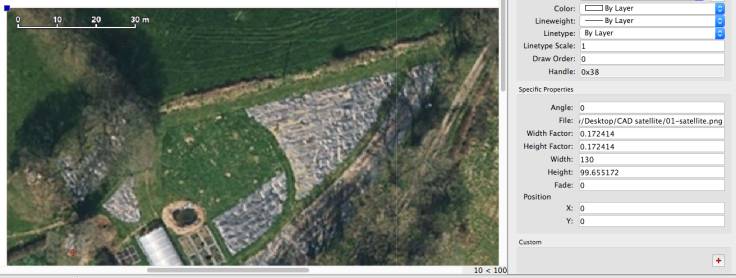
- Resize: The image is scaled at 1 metre per pixel, which means the example is 754 metres. Make sure the image is selected and in the
Property Editor, enter 130 (metres) into the width box. - Voilà: All done. Using the Plants For A Future website, find out the diameters of the trees you want to plant, position the trees on the plan and make sure you have the correct tree spacing to allow enough light in.
1. Satellite 2. Scale 3. Width 4. Import 5. Resize