
Clay-lined pond at Wyndrush Wild meadows, created from clay dug out for building
Nick Balmer wrote a fantastic summary of creating a clay-lined pond in the closed Facebook Forest Garden UK group, reproduced here with his kind permission 🙂
I’m creating yet another wildlife pond, this time in the Ornamental Forest Garden. Ponds are truly brilliant, they’re top of the The Dreaded Gardener’s list of features for a wildlife garden. For some insightful information, have a look at the Freshwater Habitats Trust.
I’m very keen to reduce the amount of plastic I’m using, by scraping the top vegetation instead of using woven plastic sheet mulch, and using a clay rather than butyl liner PDF for the pond.
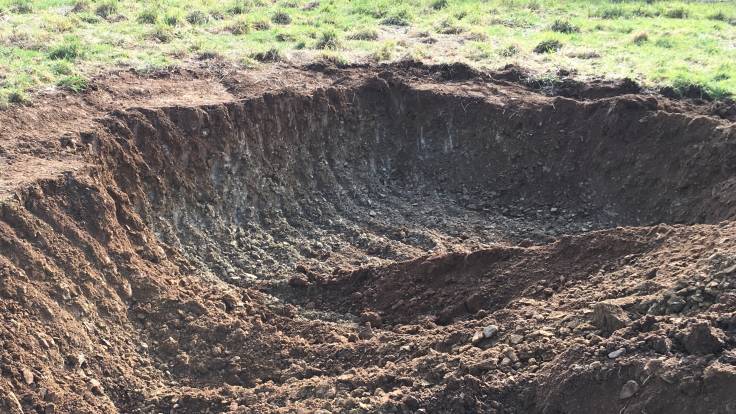
Shale aggregate and bedrock at the bottom of the forest garden pond hole, not ideal pond lining material!
I asked some questions on the Forest Garden UK Facebook group and Nick Balmer pretty much wrote a blog post. He very kindly said I could reproduce it here:
Nick Balmer writes:
Look up “Puddle Clay” and or “Dew Ponds” in Google Books and you will find quite a bit of literature about lining ponds with clay. The ones written for farmers will be better for your purposes, that those written for Civil Engineers which will mainly cover clay cores in dams.
Basically, you need a good clay with very few, if any stones in it. Brick Earth or Lias Clays work well. In most cases you will need to add water to the clay and then “puddle it” which means working the water into it, so that you have a stiff but “plastic” type of clay. You should be able to roll it into sausage like rolls in your hands. If the roll breaks in your hands, it is too dry. If it sticks to your hands it is too wet.
It takes a bit of practise and trial and error to get the moisture content right. There needs to be a lot of work done to break the clay down into a fine enough condition to mix the water into it, to get a material suitable for waterproofing.
This process used to be called Puddling. It can be done with a spade, and in a hollow in the ground, by mixing in the water by stomping on the mud. This is how a lot of canal linings were formed, when they had loads of navvies available on piece work. The Puddling process also used to be done in the 19th Century and before by walking cattle round and round in the damp clay until it became a homogeneous material.
A heavy garden or agricultural rotavator will do the job these days when cattle and or navvies are in short supply. I did this process for ponds in the 1980’s using an agricultural rotavator mounted on a Ford Tractor, and they are still holding water today. The clay, once it had been spread by a dozer, was rotavated, and then watered from a trailer mounted tank. Once the consistency was right, we rolled the clay with a mechanical roller. This causes it to bind together into a layer, and also provides a harder layer on the top surface, that traps moisture in the layer. It is very important that this moisture is trapped into the clay, and that it doesn’t dry out.
The clay layer will need to be a foot or more thick, to hold any water, and two or more feet thick is better. You have to cover this clay layer so that it cannot dry out around the pond, above the water level, or when the pond empties in summer with evaporation. It needs a layer over the puddled clay at least 6" deep of soil or subsoil, and preferably more. The makers of dew ponds used to add chopped straw to their pond linings to help stop it cracking if it dried out.
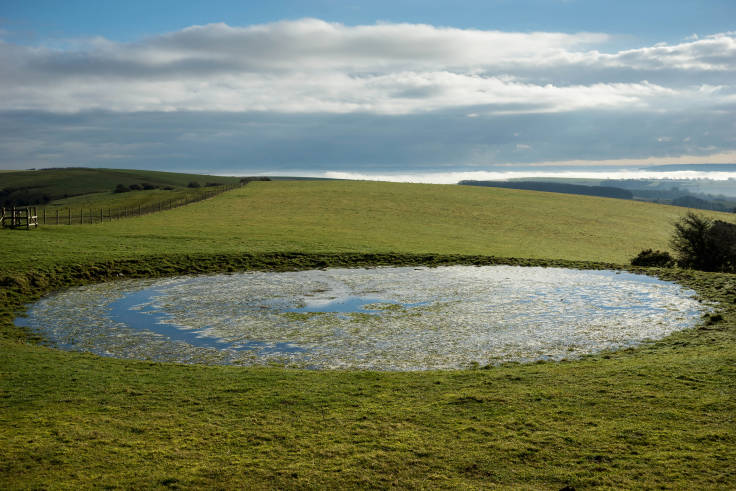
Dewpond on the downs, photo by Helen Haden on Flickr